Bargello Bookmarks – 3 Free Patterns

What is Bargello?
Bargello (pronounced bar-jello) is a type of needlepoint embroidery featuring straight vertical stitches arranged to form colorful geometric designs. The name originates from the Bargello palace in Florence, where a pair of chairs were found that feature a beautiful flame stitch pattern created in this way.

Supplies
- plastic canvas or needlepoint canvas
- tapestry needle
- tapestry wool or yarn
- scissors
- pattern
The Basic Stitch
A bargello stitch is simply a vertical line. You’ll thread the needle up through an opening from the back of the canvas, then send it back down through an opening one or more boxes above the first one. You can vary the length of the stitch simply by skipping more holes in between where you bring the needle up and down. In addition to changing the length of the stitches, you can also create patterns by raising and lowering the stitches in relation to each other. This can create a zig zag, scallop, or flame effect.

How to Create a Bargello Bookmark
To create a bookmark using this technique, first choose a pattern you like and gather your supplies. Trim a piece of plastic canvas to the size specified by your pattern. Then, starting with the first full row of your pattern, work one row of the same color stitches from left to right. Continue, moving down the pattern, stitching one colored row at a time.

Finish your pattern by adding any partial rows at the top and bottom to give your bookmark a rectangle shape. Tuck any loose ends into the stitches on the back of the bookmark to secure them.

If your pattern had you use a piece of canvas larger than your finished design, trim off any extra plastic so that there are no visible open holes on any side. If not, move right to creating the border.
Add a border by making a stitch inside each hole around all four edges of the bookmark. I like to put three stitches in each corner hole to completely cover the plastic.

Tuck the border ends into the stitches on the back, then your bookmark is ready to use! You can add a tassel if you like, or leave it as is.

Three Free Patterns
Here are three easy free patterns to try: Simple Scallops, Classic Chevron, and Darling Diamonds. Just click the button with the pattern name to download the colored grid. Feel free to use whatever colors you like for your own bookmark, mine are just a guide to help you place your stitches in the right spots.


More Projects
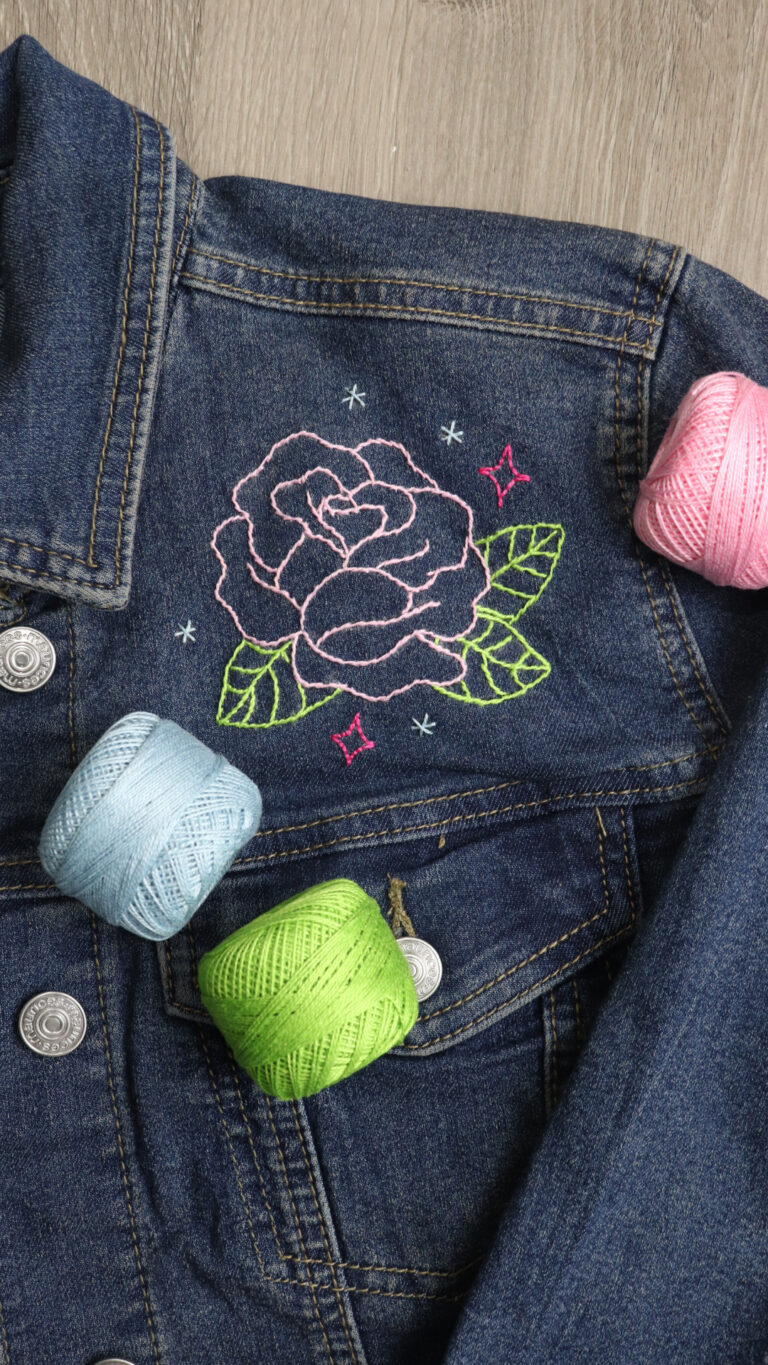
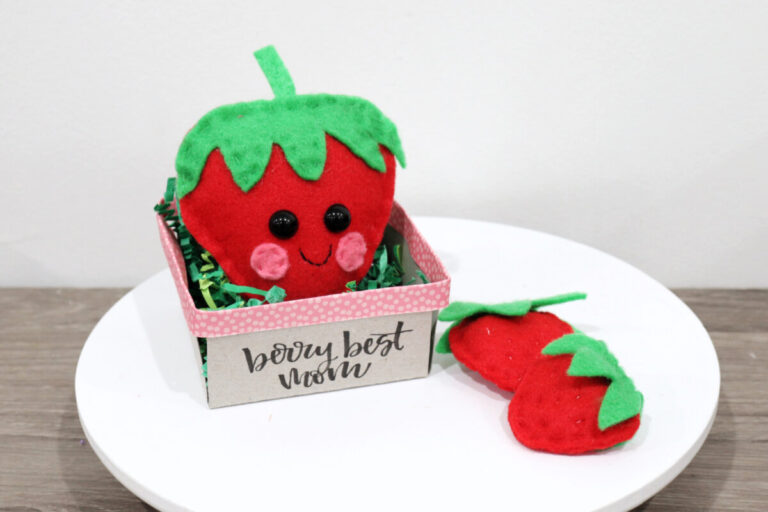
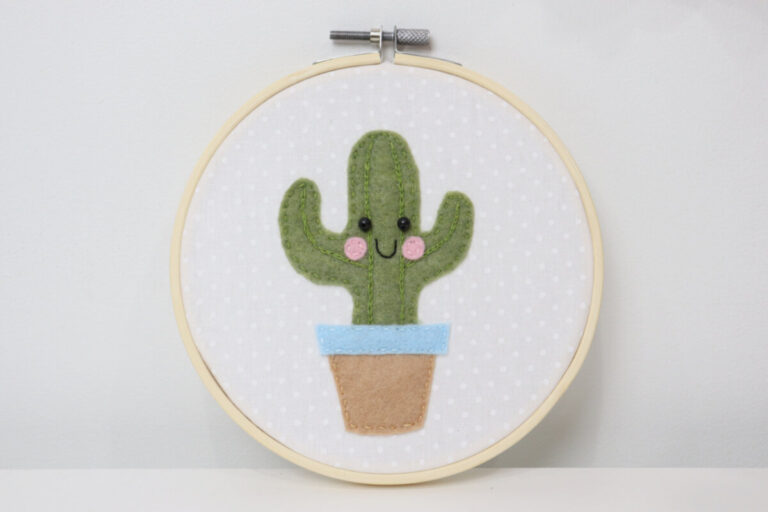
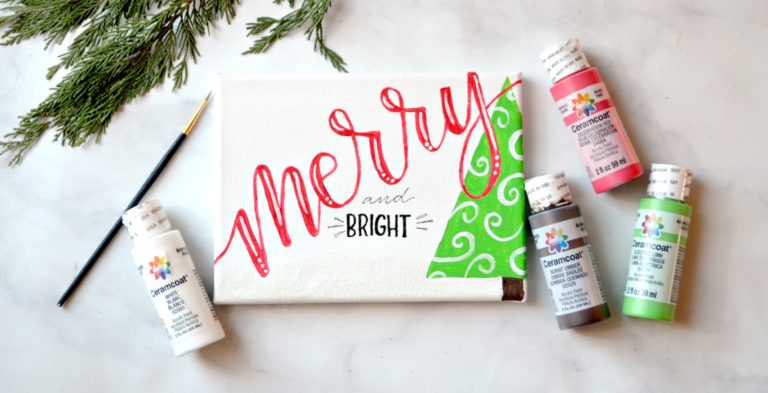
If you enjoyed these Bargello bookmarks, here are some other craft and needlework projects you might want to try.


If you give these Bargello Bookmarks, or any other projects, a try, I’d love to see what you create! Make sure you’re part of the Amy Latta & Friends group on Facebook so you can share your latest photos and we can all inspire each other. Hope to see you there!
Hello, the link for the simple scallop design loads the chevron instead. I would love to make the scallop one, could you provide the correct design grid?
Thanks!
Maja
Sorry about that! I fixed it, and here is the link: https://drive.google.com/file/d/1ipKZs0Olb68B_oxukXpEJiNANj0Btg0f/view?usp=sharing