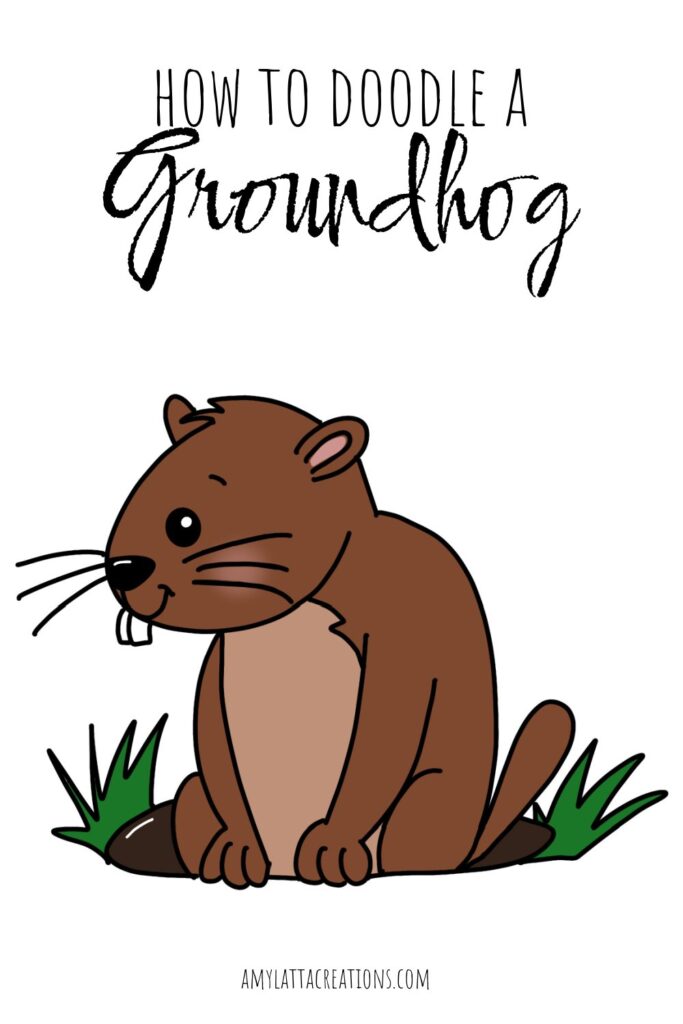
How to Doodle a Groundhog
One day a year, Punxutawney Phil takes center stage as he predicts whether we’ll have six more weeks of winter, or enjoy an early spring. To celebrate Groundhog Day, here’s a fun little groundhog doodle you can draw.
How to Doodle a Groundhog
Drawing animals is actually easier than you might think! The truth is, every doodle is just a combination of lines and shapes, and if we break it down into enough simple steps, anyone can do it! Even if you don’t feel like a skilled artist, I’d encourage you to give it a try and see what you can create. Remember, practice makes progress, not perfection.
Materials
You can sketch your doodle in a notebook, on scrap paper, or anywhere you like, using whatever materials you have on hand. Or, you can do your drawing digitally using an Apple Pencil, a tablet, and an app like Procreate. If you’re looking for specific recommendations, here are a few favorite supplies I like to use for my artwork.
- pencil
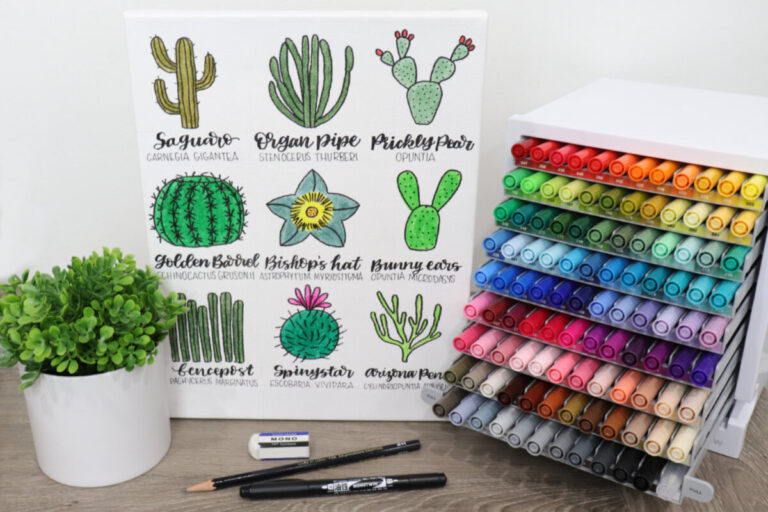
- fine tip black marker (I like Tombow MONO Drawing Pens)
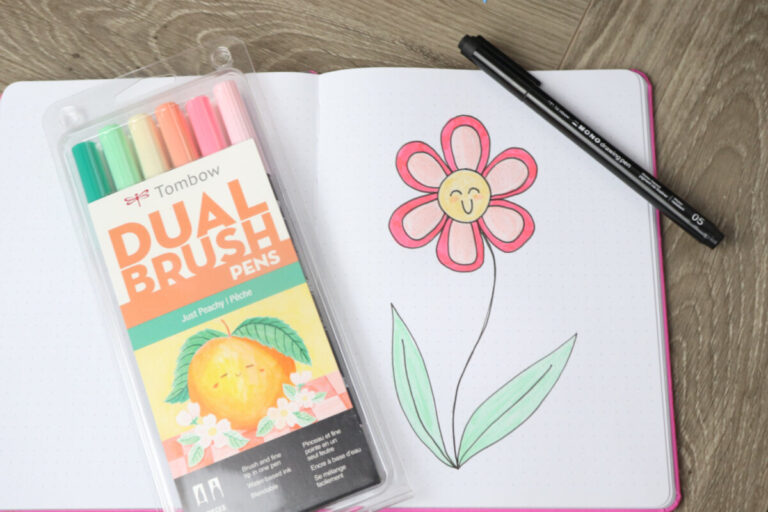
- markers (Tombow Dual Brush Pens)
- colored pencils (Tombow Irotijen Tranquil and/or Vivid)
Instructions
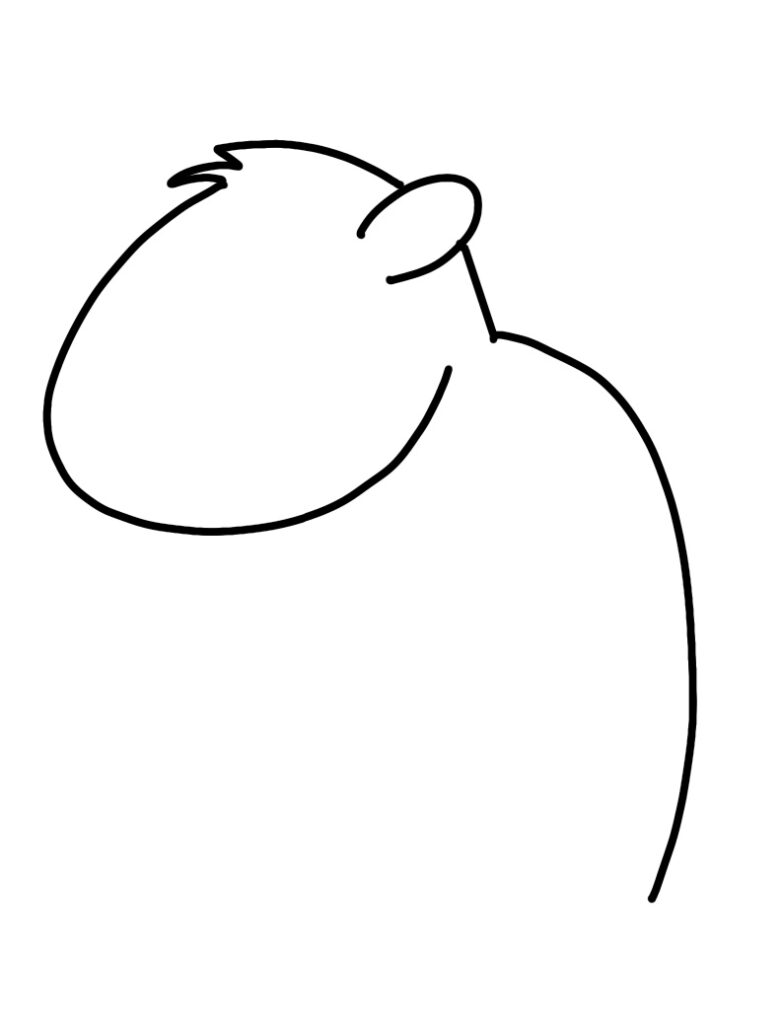
Start your sketch by drawing a slightly elongated “c” shape for the head. Add a small “u” shaped ear, then connect it to the head shape with a zig zag.
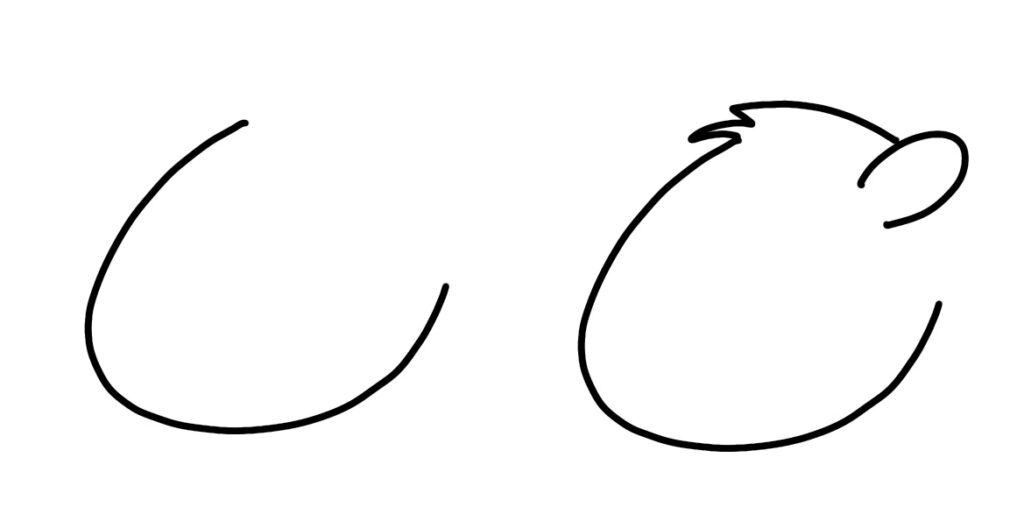
Next, extend the back of the head below the ear, then draw a curved line for the groundhog’s back.
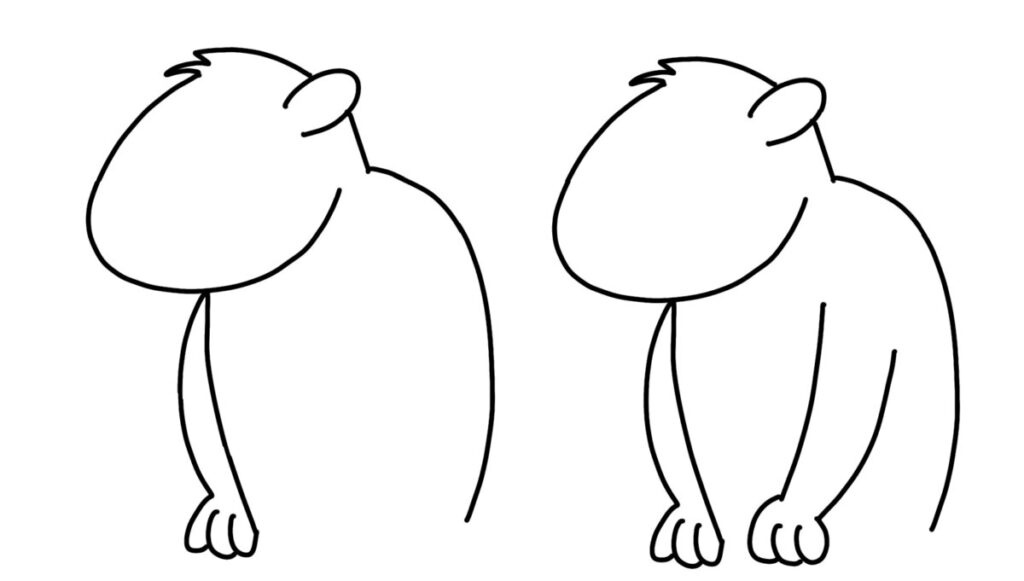
Draw a line for the front of the body, then to the left of it, sketch a curving line for an arm. Add three small “c” shapes for the paw. Then, draw two slightly curving lines inside the body area for the second arm, as well as another paw.
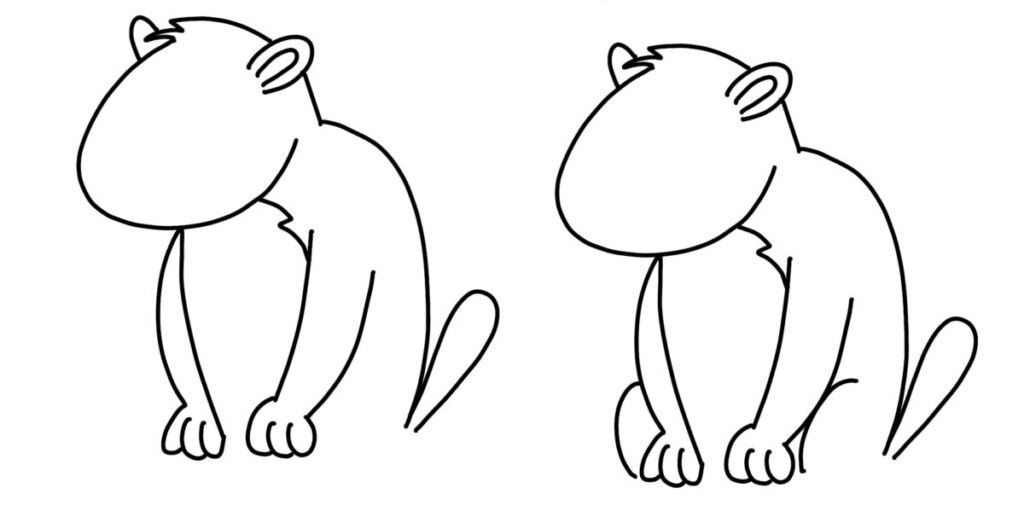
Draw a smaller “u” shape inside the ear, and add an arch for the second ear on the left side of the head. Then, make a zig zag to divide the belly area from the rest of the body. Sketch a rounded tail. For legs, draw a curving line on the far left side of the body, about halfway up the arm, then draw another curving line next to the other arm.
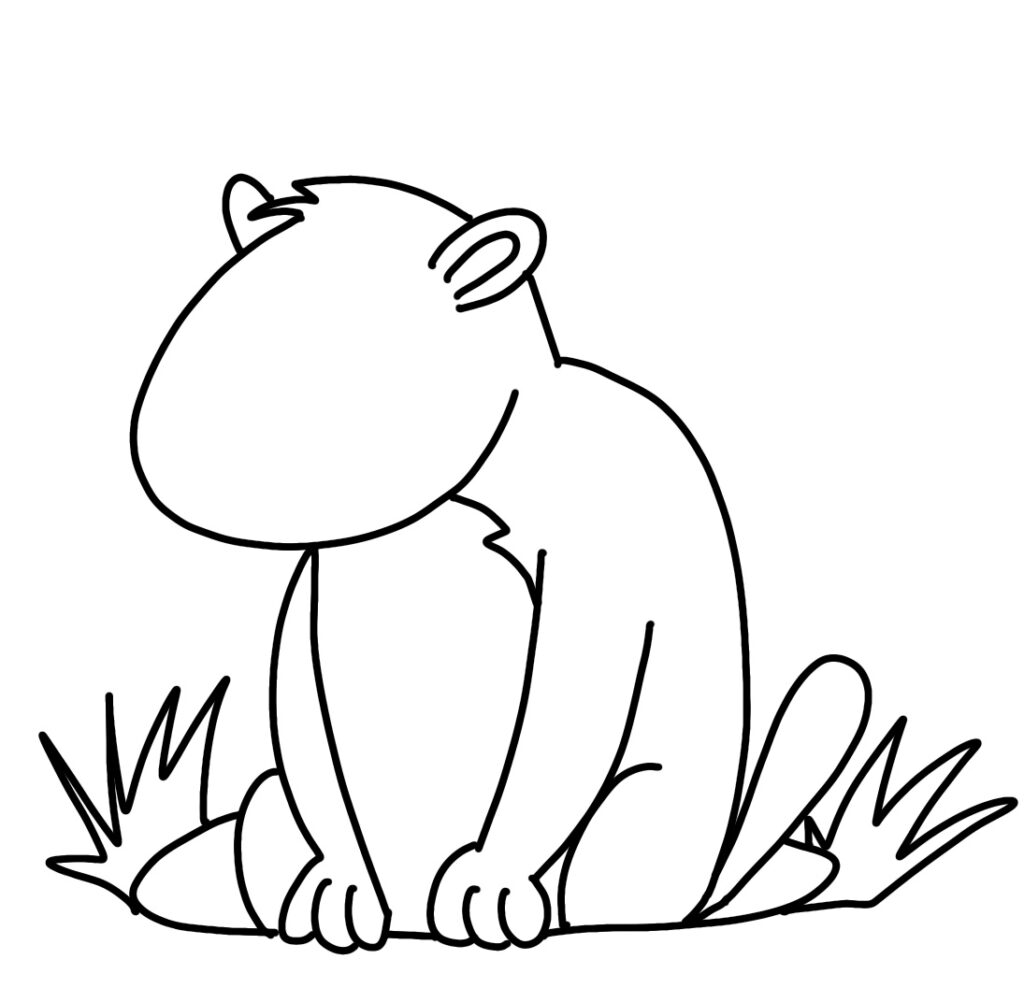
Now, it’s time to place the groundhog partly inside his burrow. To do this, draw a “c” shape that starts to the left of the leg and goes around the front of the body, ending at the tail. This creates the hole in the ground. Now, sketch a series of zig zags on either side of the hole to create two sections of grass.
Finally, give the groundhog a face by drawing a large round eye, a rounded triangle nose, a smile, and whiskers. You can also add an eyebrow to complete his expression.
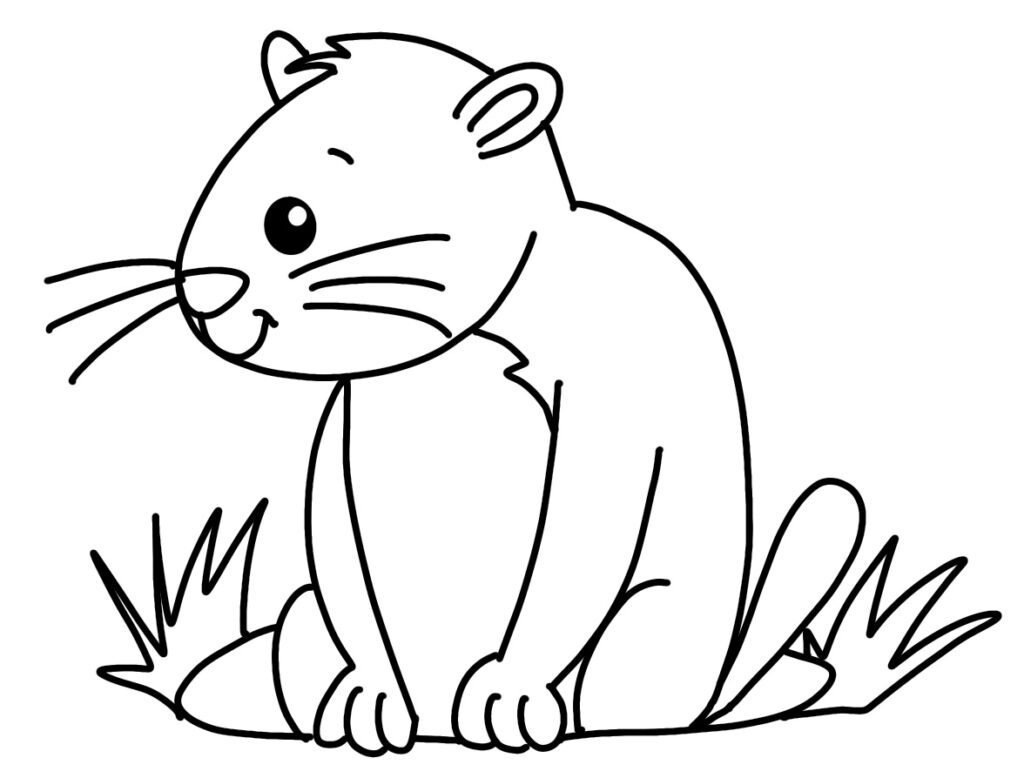
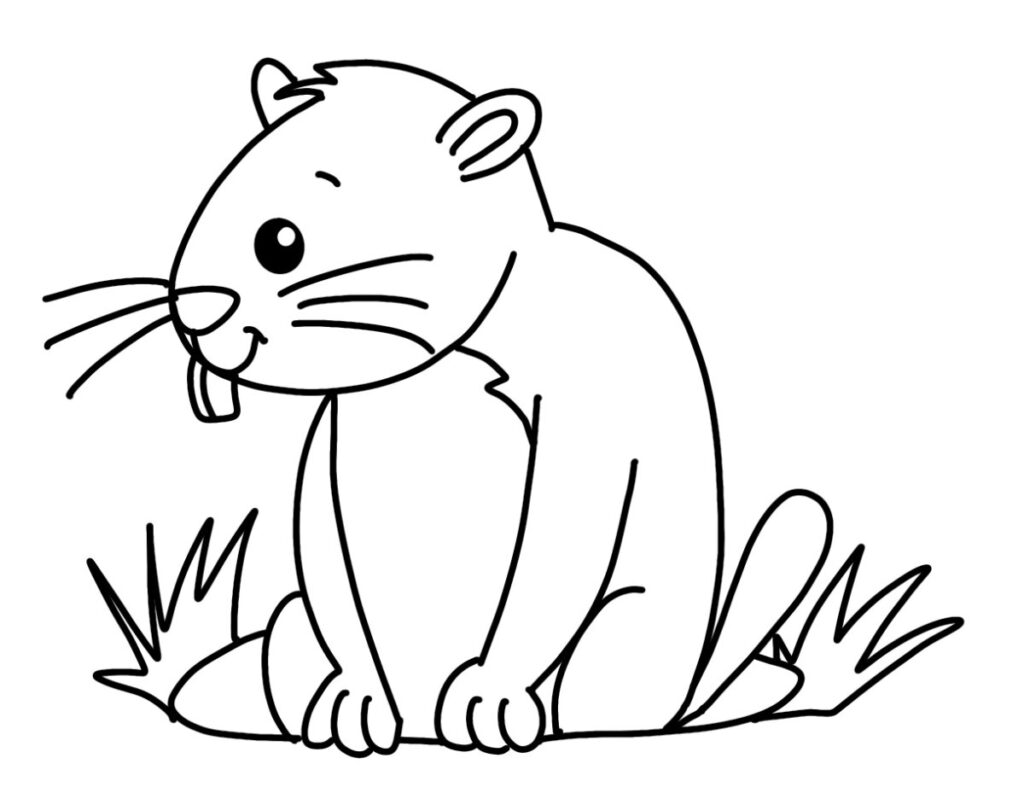
Feel free to leave your happy groundhog just as he is, or you can add a pair of protruding teeth.
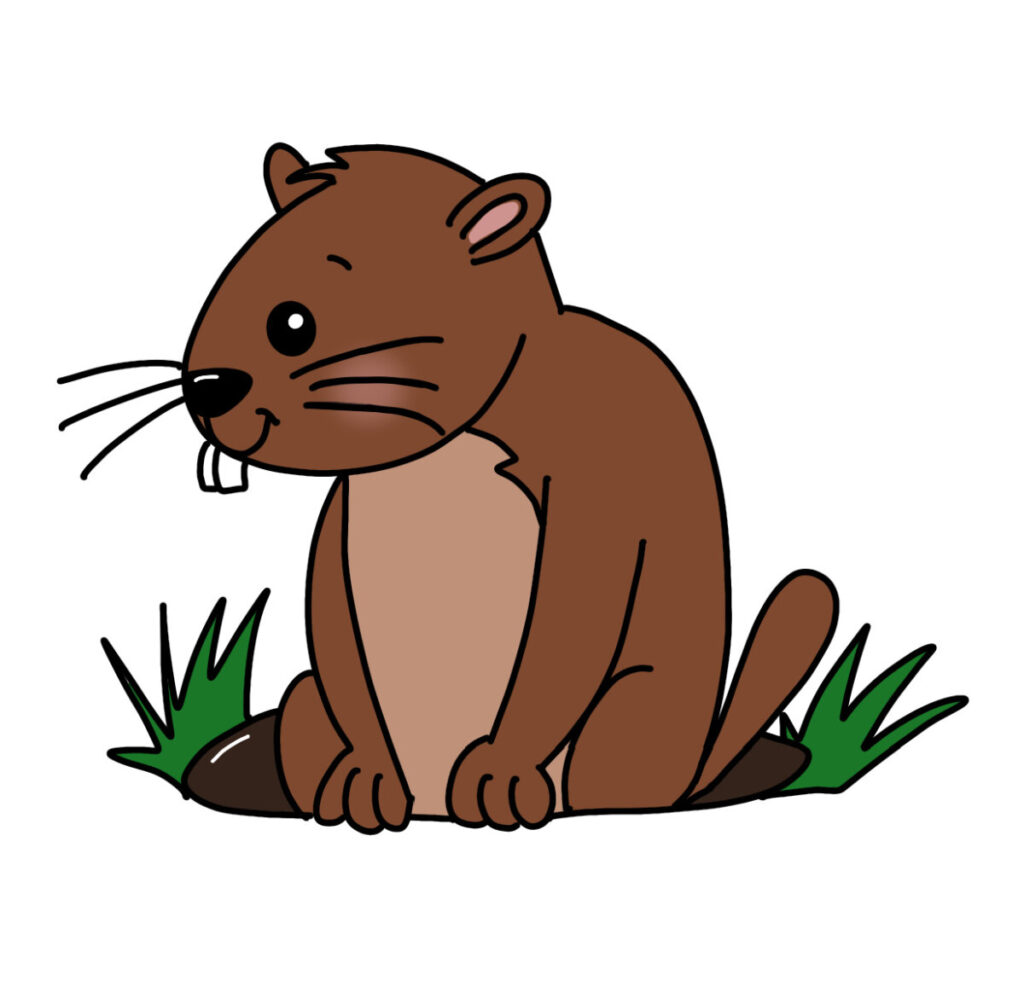
If you’re just sketching with pencil on scrap paper, your doodle is complete! If you’d like to add color, grab your favorite markers or colored pencils and bring your groundhog to life. I used two different shades of brown for the body, black for the nose, and pink for the inside of the ear and the cheeks. I colored the inside of the burrow a dark brown, and the grass green.
Doodle All the Animals
That’s all there is to it! I hope you enjoyed sketching this furry friend. If so, you’re going to love my brand new book, Doodle All the Animals! It contains tutorials just like this one and teaches you to draw over 200 different animals in a variety of habitats.
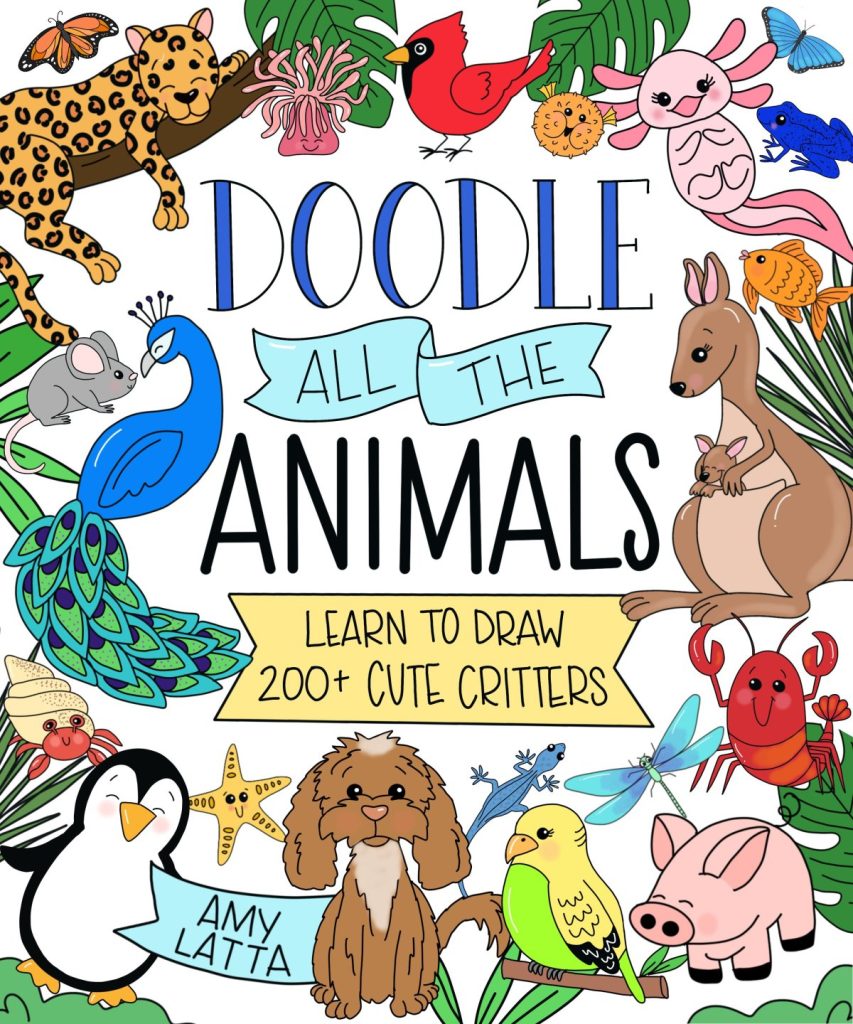
Doodle All the Animals releases May 28, 2024, and is available for preorder now everywhere books are sold.
More Doodle Tutorials
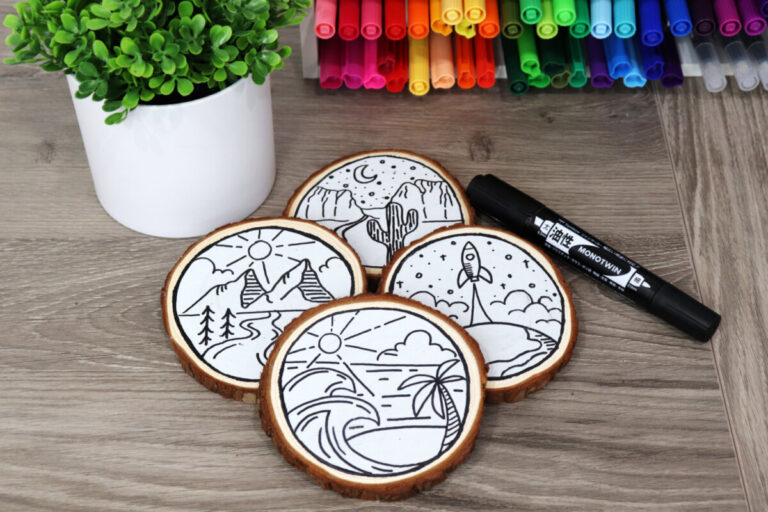
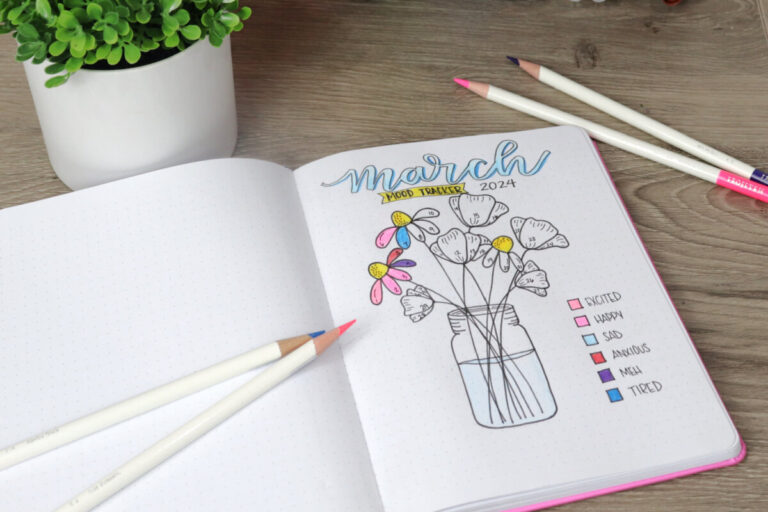
Here are some other fun doodles to practice while you wait for the book…and spring…to arrive.


If you try any of these doodles, I’d love to see how they turn out! Be sure to tag me @amylattacreations if you post on social media, and/or share your creations in the Amy Latta & Friends group on Facebook. See you there!