Easy DIY Stacking Bracelets: Leather and Gemstone Bracelet
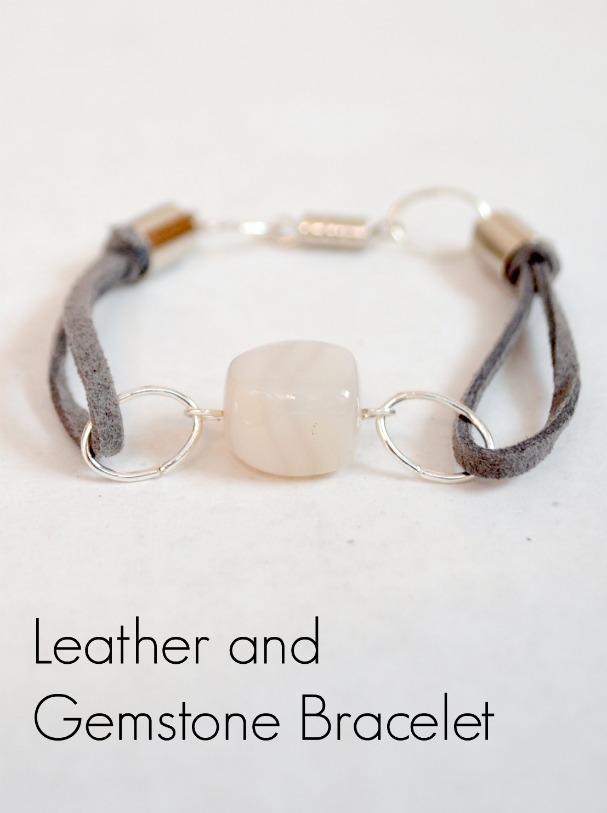
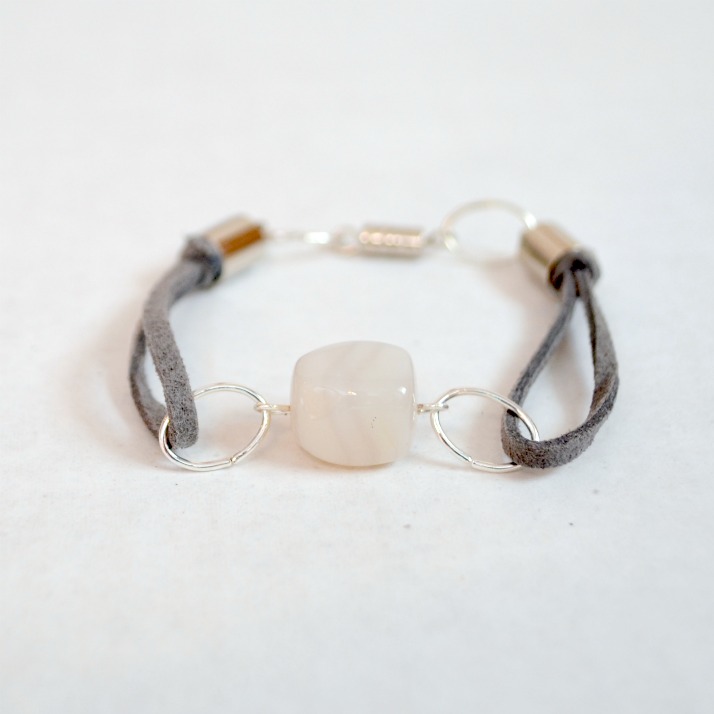
Hey, friends! Are you enjoying the series of stacking bracelets so far? We have two more to go, and both of them use leather cord. Since the coral and green bracelets are so colorful, I decided to make these final two as neutrals…starting with this Leather and Gemstone one. Take a look.
Materials:
– 4 oval jump rings
– 1 gemstone bead as a focal point
– 1 eye pin
– 2 end caps
– clasp
– leather cord
– scissors
– needle nose and/or flat nose pliers, wire cutters
– jewelry or super glue
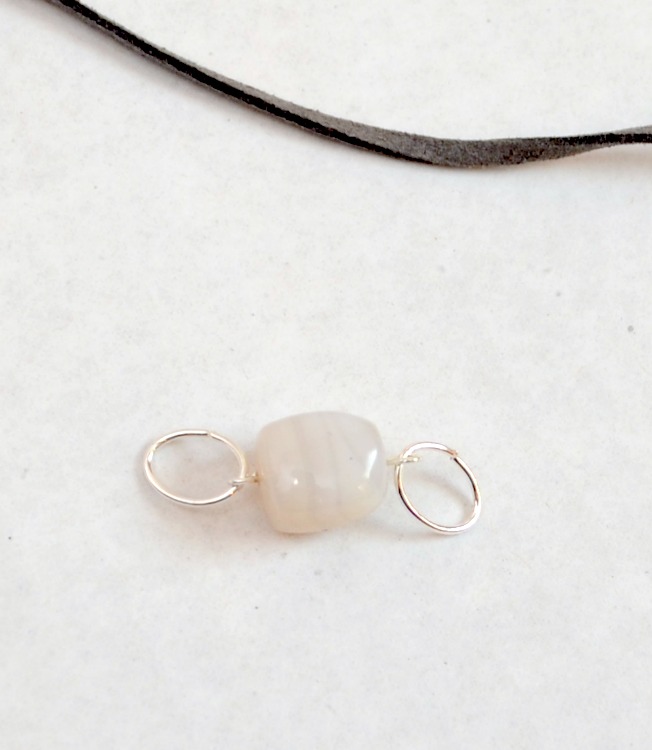
STEP 1: Place your gemstone on an eye pin. Form a wire loop. If you have no idea what I’m talking about, check out this tutorial first.
STEP 2: Attach an oval jump ring to each end of the eye pin.
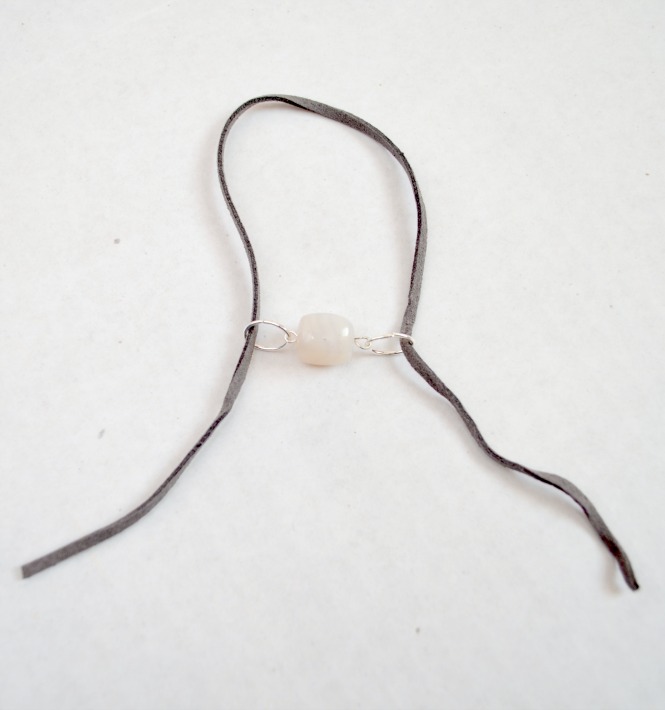
STEP 3: Thread cord through both jump rings, like so.
STEP 4: Fold the ends of the cord over and tie them around the cord itself. The knots will slide, so slide them until both sides are even {as you can see in the photo below, I hadn’t done that part yet; see how one side is longer than the other?} When your sides are even, cut the cord in half in the back.
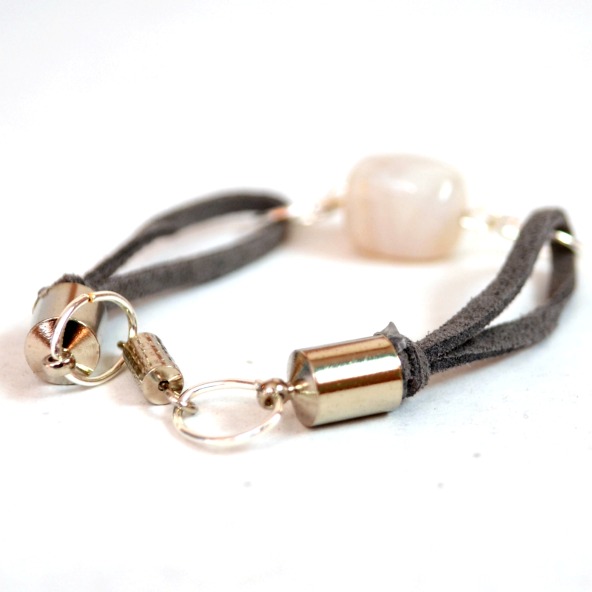
STEP 5: Trim the cord close to the two knots. Place glue in your end caps and push the knotted cord ends into them.
I recommend using a strong glue, like E6000 or super glue for this. However, as my super glue was empty and I apparently glued the lid onto my tube of jewelry glue…ah, the perils of being an artsy mama… mine was actually done with hot glue. So far, it hasn’t fallen apart yet, so in a pinch you can use that too.
STEP 6: Add jump rings to the loops on each end cap. Add a clasp.
You’ll see from the photos that I chose a barrel clasp, mostly for aesthetic reasons {aka I thought it looked better}. However, if you’ve never used a barrel clasp before, let me just warn you…they’re a MAJOR pain in the tushie! They’re almost impossible to do by yourself, so if you don’t usually have any helpful hands around when you put on your jewelry for the day, you’re going to want to use a lobster clasp instead. Just sayin…
And that’s all there is to it! See, it looks complicated, but really it’s totally do-able, don’t you think?
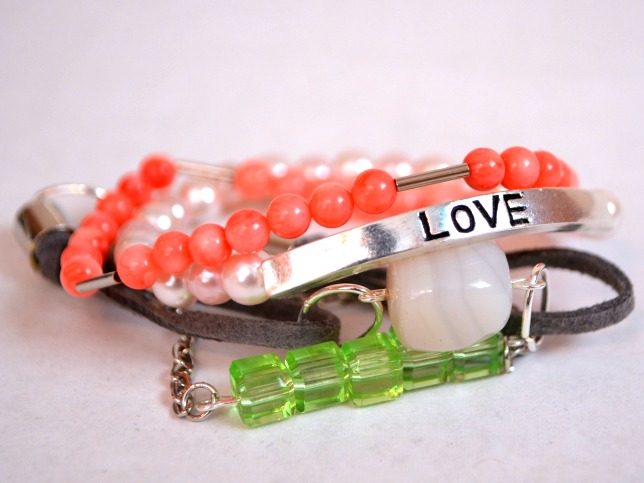
Here is my best attempt to add it to the stack of bracelets we’ve made so far. As you can sort of see, this bracelet, while stylish and simple, doesn’t like to play well with others when being photographed. It looks more like a four bracelet collision than a stack, but you get the idea. I promise it’s much more well behaved when you’re actually wearing it.
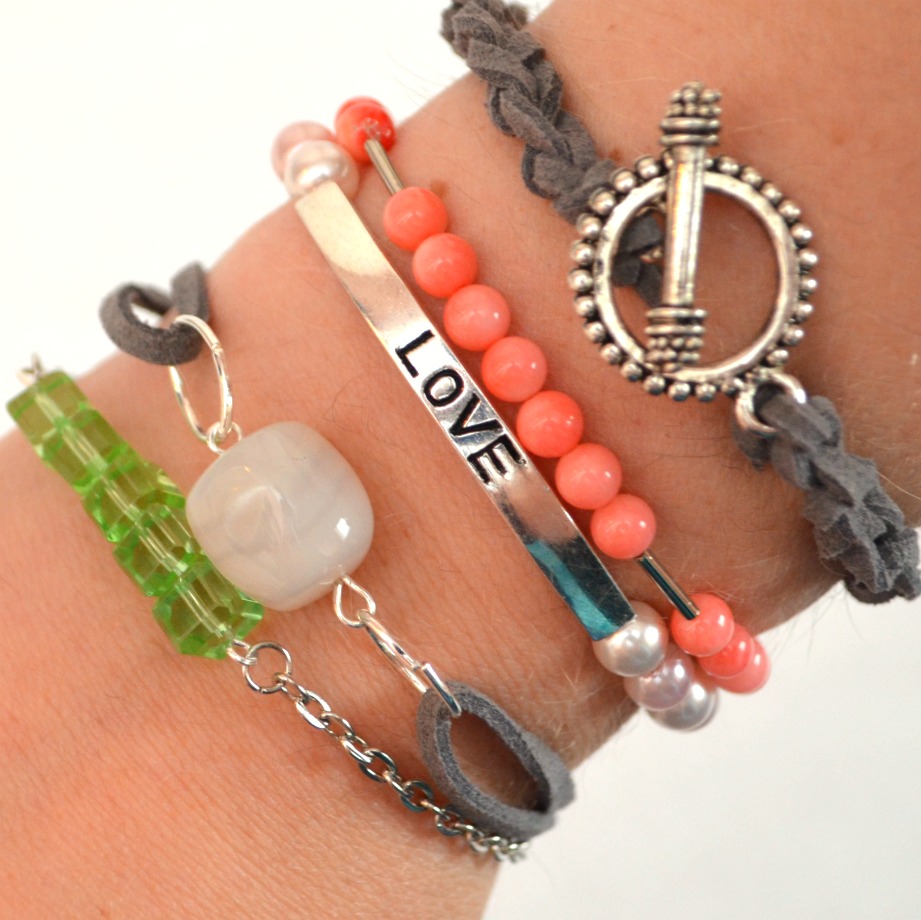
See? Look how nicely it compliments the others! Yay! If you missed the previous installments in this series, you can find them here:
Green Half-Beaded Bracelet
Pearl Love Bracelet
Coral and Metal Tube Bracelet
And be sure to come back tomorrow for the final one in the series…isn’t it cute?





Love it!! I might have to wait til next week to make this one so that my daughter can help me. I love the look of the barrel clasps on this bracelet. It adds to it. Thanks so much!! Can’t wait!!
I’m just loving these bracelets that you’ve been sharing at the Blog Boost! Pinned while I was here tonight 🙂
Shauna @ The Best Blog Recipes
Hi Amy! This is such a beautiful bracelet and great tutorial! I’m thinking this would make a pretty sweet gift for the girls! 🙂 Thanks so much for sharing and pinning! Hope you have a happy Friday!
Aw, thanks, Cindy! Glad you like it!
This is so pretty, definitely my favorite so far. And it’s so simple! I think I may have to make one of these for myself soon. Thanks Amy!
I love it! This is such a simple and feminine piece – I can totally see myself wearing it!
are there supposed to be pictures?
Woo this is really great..
Will definitely going to try this 🙂
Will wait for more posts..